
How Should I Handle Unexpected Issues Found During My Renovation?
How Should I Handle Unexpected Issues Found During My Renovation?
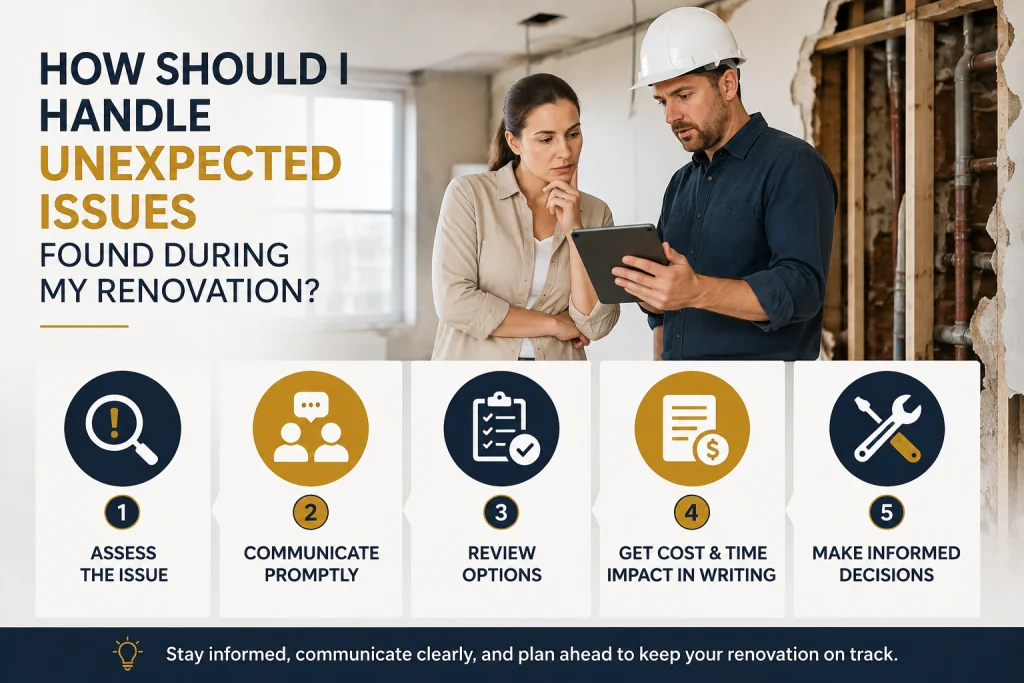
Renovating a property is an exciting journey toward creating your dream space. However, anyone who has ever torn down a wall or ripped up old flooring knows the golden rule of construction: what you don’t see can cost you.
Whether it’s hidden water damage, outdated electrical wiring, structural deficiencies, or mold, unexpected issues are a nearly guaranteed part of any major renovation. The difference between a renovation disaster and a successful project isn’t avoiding these surprises—it’s knowing how to handle them when they arise.
As construction professionals, we’ve navigated countless mid-project curveballs. Here is a professional, step-by-step guide on how to handle unexpected issues during your renovation without blowing your budget or losing your mind.
Step 1: Halt Work and Assess the Situation
When a hidden issue is uncovered, the very first step is to pause. Do not let the momentum of the project push you into a hasty decision.
- Stop work in the immediate area to prevent further damage or safety hazards.
- Evaluate the severity. Is this a cosmetic issue, or does it affect the structural integrity, safety, or building code compliance of the home?
- Take a deep breath. Panic leads to rushed, expensive decisions. Treat the issue as a puzzle to be solved, not a disaster.
Step 2: Document Everything Thoroughly
Before anything is altered or cleaned up, document the discovery.
- Take clear photos and videos of the issue from multiple angles.
- Keep a written log of when it was found and who found it. This documentation is crucial. It provides a baseline for your contractor to assess the problem, serves as a record for your personal files, and is absolutely essential if you need to file a claim with your homeowner’s insurance or negotiate with a previous contractor.
Step 3: Consult Your General Contractor
Your general contractor (GC) is your best ally when problems arise. Schedule an immediate walk-through to discuss the findings. A reputable contractor will:
- Provide a professional assessment of the issue.
- Explain why it needs to be fixed and the risks of ignoring it.
- Advise you on whether specialized subcontractors (like a structural engineer, electrician, or environmental tester) need to be brought in for a secondary opinion.
Step 4: Request a Formal Change Order
In the construction industry, any change to the original scope of work must be documented. Never agree to extra work based on a verbal conversation.
- Ask your contractor for a detailed Change Order.
- This document should clearly outline the new problem, the proposed solution, the additional materials required, the extra labor costs, and the impact on the project timeline.
- Review the Change Order carefully. This ensures there are no surprises when the final invoice arrives and protects you from "scope creep."
Step 5: Explore Solutions and "Value Engineering"
You don’t always have to accept the first or most expensive solution presented. Work with your contractor to explore alternatives. This is known in the industry as value engineering.
- Can the issue be repaired rather than entirely replaced?
- Are there alternative materials that solve the problem more cost-effectively without sacrificing quality or safety?
- Note: Never compromise on safety, structural integrity, or building code compliance to save a buck. However, there is often more than one way to skin a cat when it comes to aesthetic or secondary fixes.
Step 6: Check Your Insurance and Warranties
Before writing a check out of your contingency fund, check your coverage.
- Homeowner’s Insurance: Call your provider. Some hidden issues, like sudden pipe bursts or specific types of water damage, may be covered under your policy. (Note: Long-term wear and tear or pre-existing mold usually is not).
- Previous Warranties: If the issue stems from a recent repair or a newly installed system (like an HVAC unit or roof), check if it is still under the manufacturer’s or previous contractor’s warranty.
Step 7: Adjust Your Budget and Timeline Expectations
Once the Change Order is approved, you must adjust your project expectations.
- Tap into your contingency fund. This is exactly why financial experts and contractors recommend keeping a 10% to 20% contingency fund for any renovation project.
- Accept timeline shifts. Fixing an unexpected issue will take time. Work with your contractor to establish a realistic revised completion date and communicate this new timeline to all relevant parties.
Step 8: Approve the Plan and Move Forward
Once you understand the costs, the timeline, and the solution, give the formal go-ahead. The worst thing you can do is let an uncovered issue sit idle, which can lead to secondary damage (like exposed wood warping due to humidity) and stall the entire project. Approve the Change Order and let the professionals get back to work.
The Takeaway: Trust the Process and Your Team
Unexpected issues during a renovation are not a sign that you hired a bad contractor; they are simply a sign that you are remodeling an older structure. In fact, a contractor’s true skill is often revealed not when things go perfectly according to plan, but in how efficiently, transparently, and professionally they handle the unexpected.
Found this article valuable?
Share it with fellow builders, architects, or download the QR code.
Written by Shanmugam2026
Verified CreatorARQONZ Editorial Team brings you expert insights, construction guides, and architectural design trends from across the building industry.
Related Articles in Construction

What Should I Never Say to My Contractor?